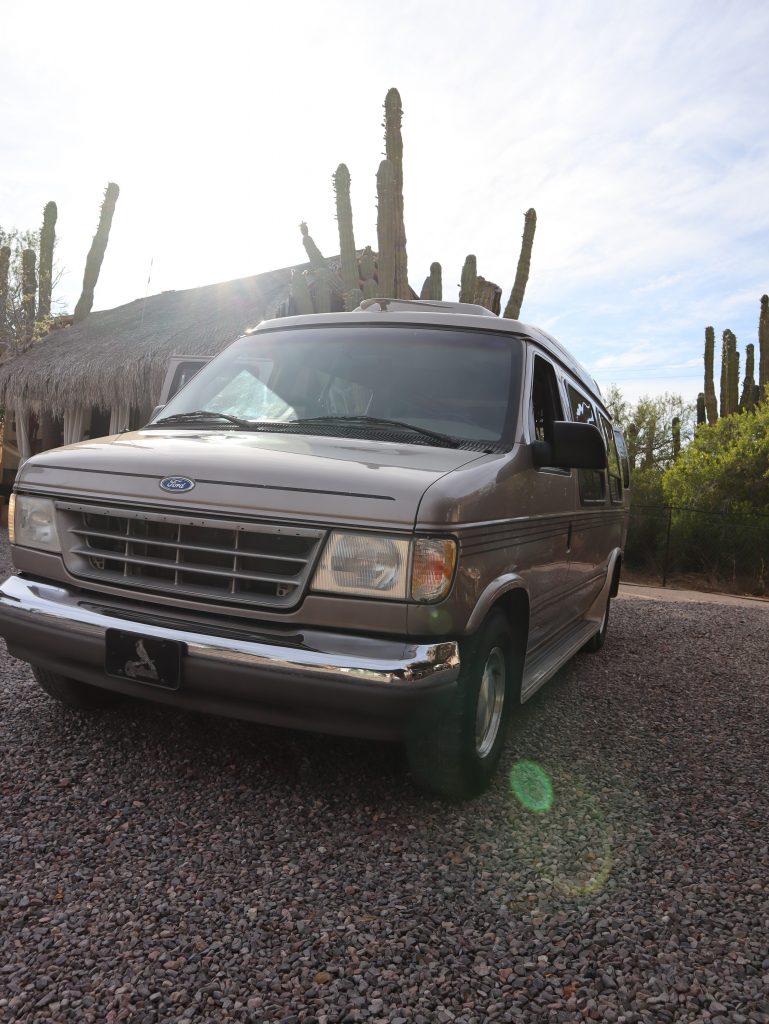
When we bought our old camper van – a 1995 Ford Econoline – we were super impressed with the original interior and upholstery. But long days spent on the road and at the beach meant there were some unsightly stains. Old age will getcha.
The first order of business was a deep clean.
Here is my 3-step method to cleaning a camper van for maximum freshness.
Want proof that this method works? Check out these before and after photos!

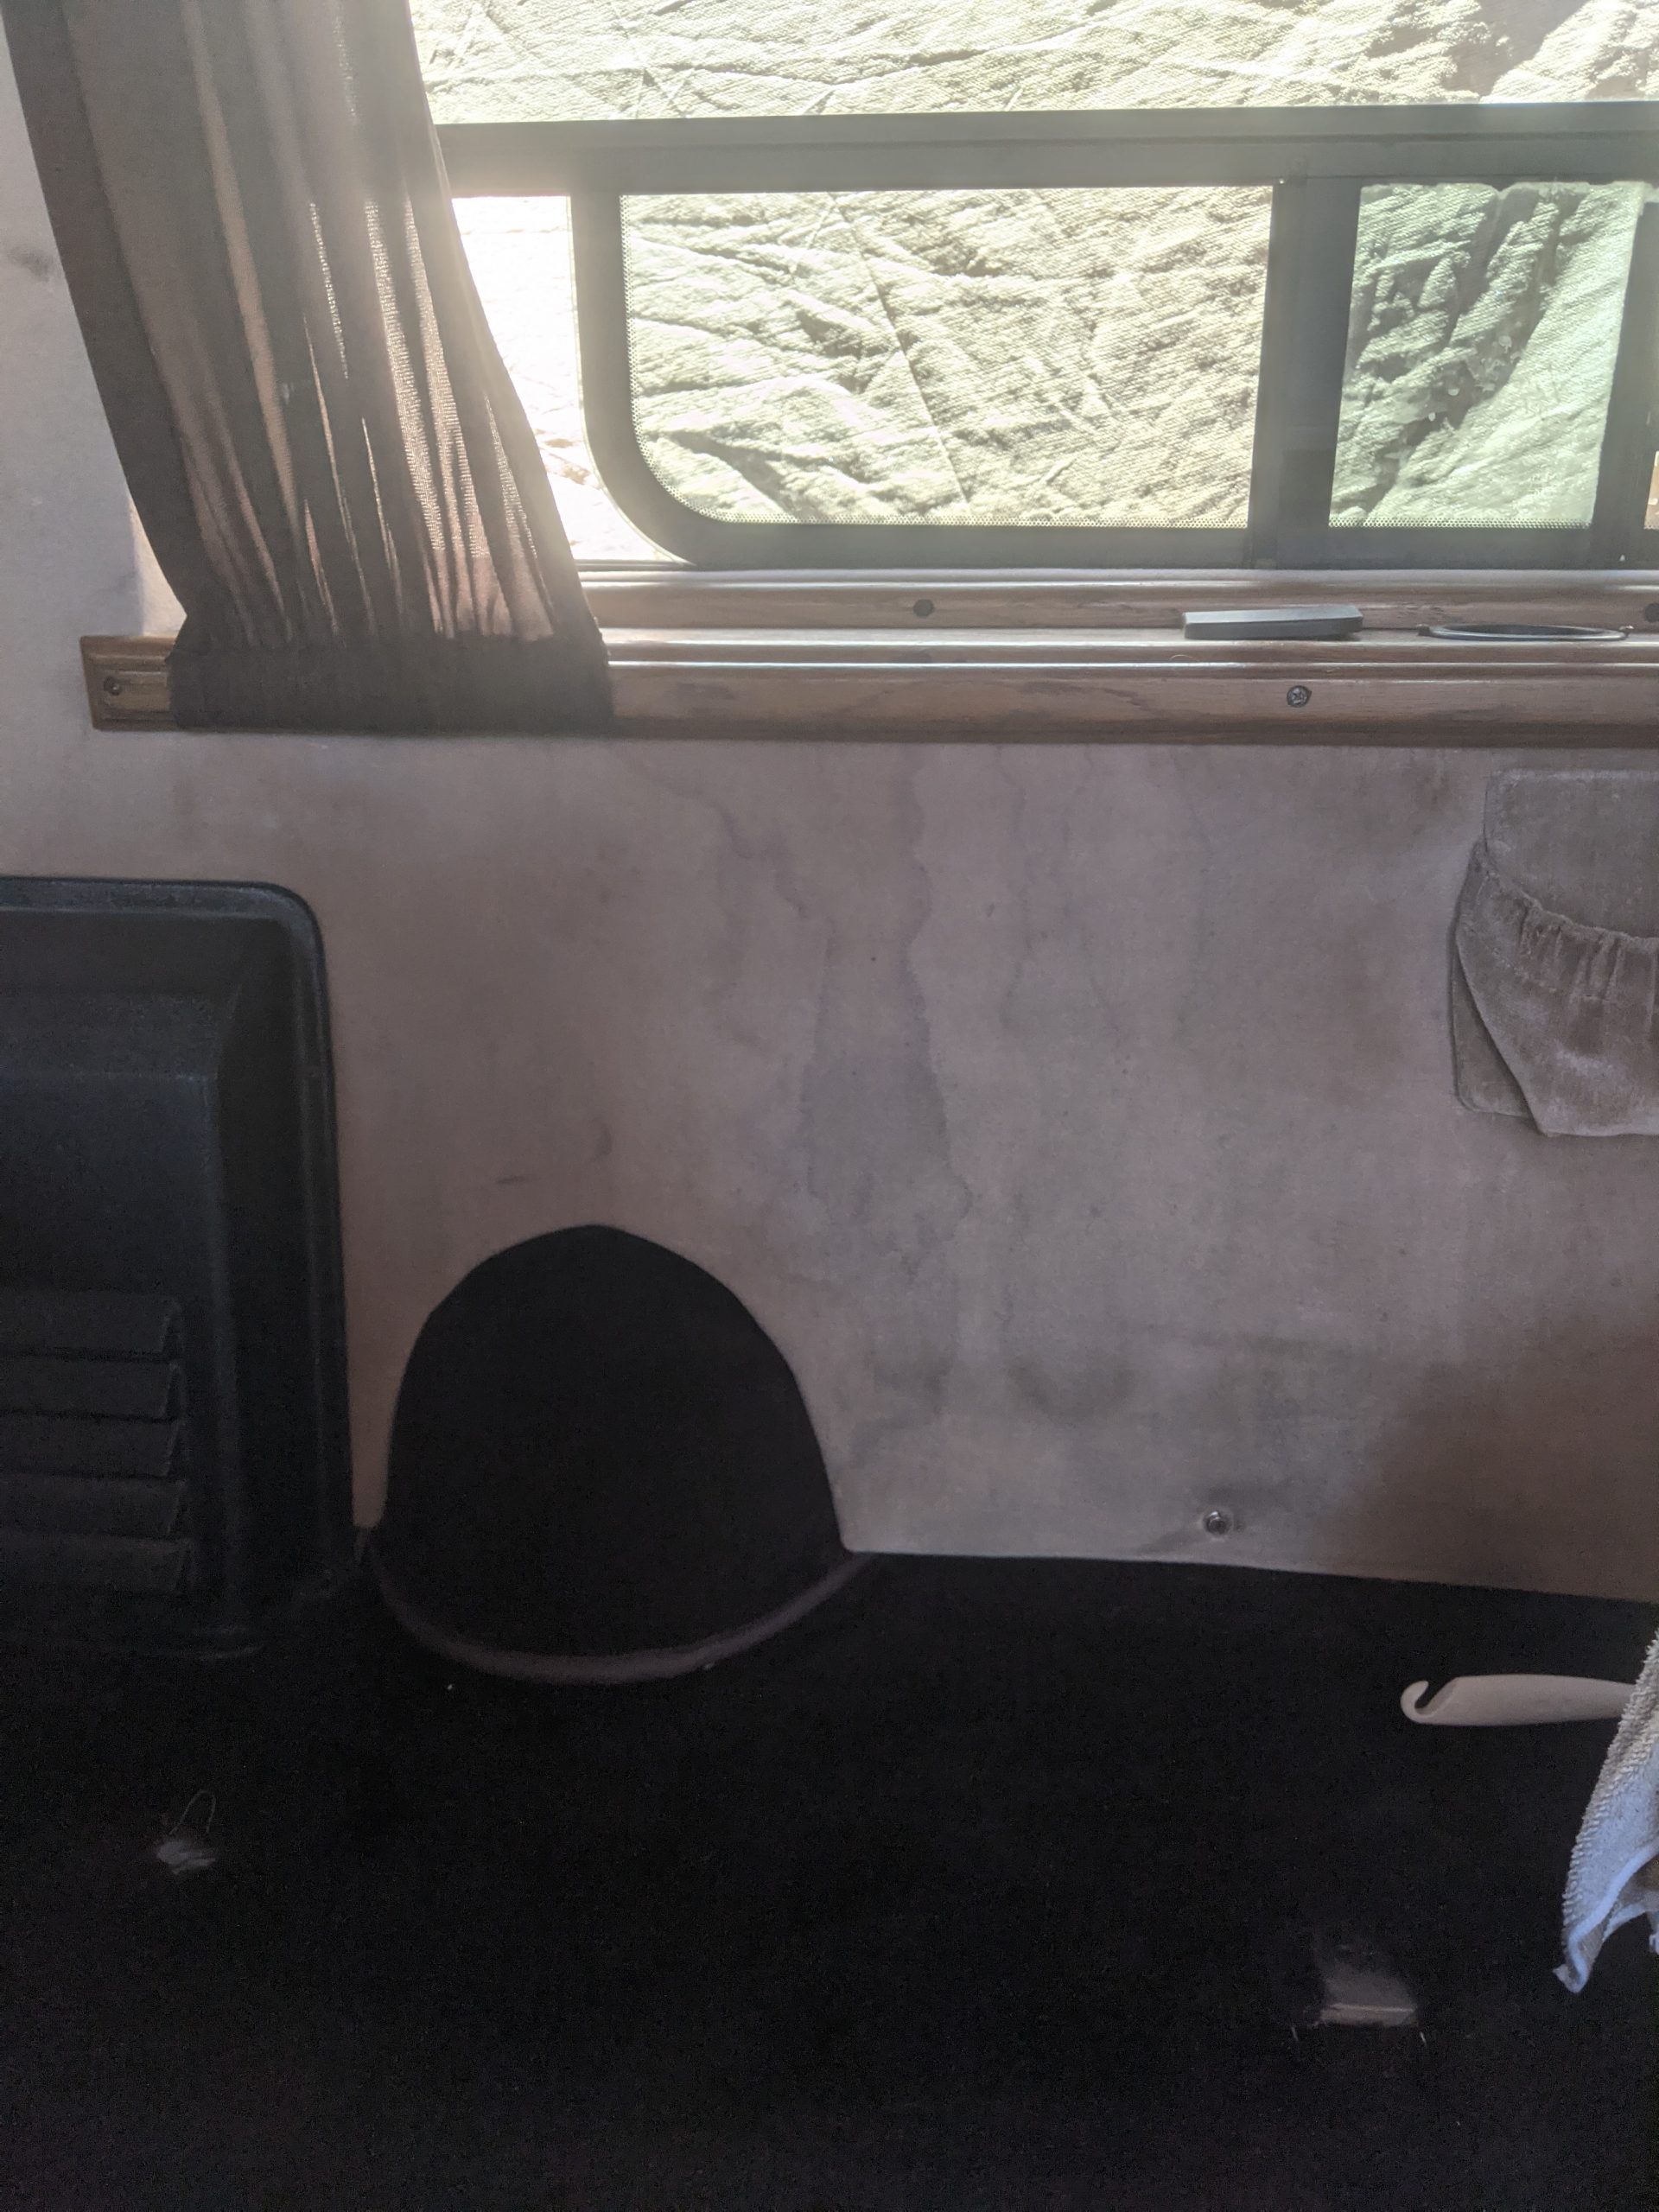
Before – There were years of water staining and dust on the interior wall of the camper van that needed to be removed. 
After – So fresh and clean! Look at that good-as-new interior wall! Photos: @dashboarddrifters

1. Vacuum, vacuum, vacuum!
The first step in cleaning out your camper van should be to vacuum it out. I don’t just mean the floor, I mean everything – the walls, the ceiling, inside the storage compartments, under the seats, everywhere!
To get all those lingering smells, you need to suck out all the debris, hair, and, and particles that are embedded in the upholstery.
For best cleaning, take out as much upholstery as you can so you can get access to all the crannies. Take out the floor mats and dog house covers. Shake them out and watch the dust fly.
It’s great if your vacuum has a couple of different attachments so you don’t miss anything. I recommend using a bristle attachment to get in the wall and ceiling upholstery and loosen all the stuck-in grime. For carpeted areas, you absolutely need to ensure that your vacuum has a brush roll – like the Shark Rocket. I am obsessed with this model and have one in my RV.
Honestly, you probably need to vacuum more than once. I vacuumed everything three times – yes, that’s correct – three times. A thorough vacuum job sets you up for success in the next steps.
2. Use the sun
Did you know the sun is a natural deodorizer? It is!
Harness the power of the sun to clean your camper van. Since you pulled everything out to vacuum, the next step is to lay everything in the sun. This is especially good for big items like mattresses that you might not be able to easily replace.
Another helpful tip to help clean and deodorize is to spray the upholstery items – like a foam mattress or cushions – with vinegar. Simply mix up a half-half solution of white vinegar and water in a spray bottle. Spray down the upholstery and let it sit in the sun. I sprayed our foam down a couple of times and let everything sit for a full day. Then I flipped the foam and repeated this process.
Keep in mind that UV rays can fade colors – so don’t leave your upholstered items out in the sun for weeks on end. And if you’re spraying anything with vinegar that isn’t covered with a sheet or blanket, spot test an area to make sure the color doesn’t bleed.
3. Deep clean
Now that we’ve removed all the dust and killed all the mildew, it’s time for the last big clean to ensure your camper van is smelling fresh.
I love DIY methods – so this cleaning recipe contains ingredients that you probably have in your house. Similar to this DIY floor cleaner, all you need is water and laundry detergent. I used this cleaning combination for both the soft and hard surfaces of our camper van.
In a small container of hot water (about a liter), add a teaspoon of laundry detergent – don’t sweat the exact measurements. According to the famous @gocleanco recipe, it’s gotta be Powdered Tide. Using a microfiber cloth, get your rag wet and then apply the cleaning solution to your camper van’s walls, ceiling, and hard surfaces. Work in small sections and dampen the area without making it sopping wet. To really deep clean, use a soft-medium bristle brush and work the solution into the fibers. Then “buff” the area with the microfiber rag in circular motions.
You will be horrified by what comes out. I used a white microfiber cloth so I could see how much dirt and dust was being pulled off the surface.
After each section, rinse your rag. You will need to change your water frequently. Depending on the age and how dirty your camper van is, you may have to go over areas multiple times. Ensure that with each passing, you are using the microfiber to its full advantage and pulling as much water (and dirt) out of the upholstery as possible.
Why does this work?
Good question. The laundry detergent is a super effective cleaner. The surfactants in the detergent help release trapped dirt. The enzymes in the solution break down stubborn stains, and on hard surfaces, the gritty texture is a powerful cleaner.
It also makes everything smell super fresh.
That is my 3-step method to cleaning old camper vans. Try it and let me know how it goes!

love this article i’ve done exactly the same thing for 3 different vans.. my newest is a 1996 Chevy hightop. even found money stuffed down in driver seat.$20.oo .helped with first fill up. replaced shocks,tires, brakes. fan belt, oil & filters change,a few more things. really happy with my latest buy.
Anybody try using a carpet cleaner to deep clean stuff, and suck out the dirt & water?
Hey Jim, this is a great idea if you have the option!
Awesome!! That sounds wicked.
I’m an old guy but I loved this video. It brought back so many memories of camping and hiking in BC. Before it was named a park I used to hike and hunt the Cathedral Lakes Provincial Park area as well as the Garibaldi Highlands and Whistler areas. A friend and I once made a five day hike from Chilliwack Lake to Manning Park Lodge. In the late seventies I moved to the East Kootenays and for 20 years enjoyed hiking the Rockies. I have had many campers in my life. My all time fave was my 1968 VW van conversion by Dorper of the Vancouver area. It went to San Francisco along the coast hwy many times back in the early seventies. The van had a full length tent that attached to the side for added room. I”m now in my mid seventies and live in NW Ontario. Not a day goes by that I don’t have fond memories of BC. Thanks so much for the memories Ladies.
Rick Hallam
Awe what a great memory! Thanks for sharing, Rick!