A van roof fan is a necessity for most van lifers. But cutting a hole in your roof can be nerve-wracking. We’re here to walk you through, step-by-step on installing your van’s roof fan!
So, you want to install a van roof fan? Many van lifers can agree that cutting holes in your van is one of the scariest parts of the building process. Once it’s done, you can’t really put it back. This is also usually one of the first projects that you complete during the van building process since it comes before any insulation or foundation work.
That’s why I’m here to give you instructions on how to carefully install your van roof fan!
Before you begin: make sure to wear safety gear! This is dirty work that gets metal shavings basically everywhere, so it’s important to wear safety goggles and cover your hair and skin to avoid any injuries.
First, Why Install a Van Roof Fan?
Roof fans are basically a necessity in vans since they provide proper ventilation and airflow. This is important for when you’re cooking, especially on a propane stove, and it creates a healthy indoor air quality for your living space. It can also work wonders to regulate temperature and keep your van cool.
How to Install a Van Roof Fan
Alright, now that you know why, let’s talk about how to install your van roof fan.
1. Decide where you want to install your fan
You want to think about airflow in this case. Your fan will be pulling air in through the doors and windows of your van and out through the fan. This means you should have proper spacing between your windows and fan, so the air moves throughout the entire space.
If you have a window towards the front of your van, you’ll want to install your fan more towards the back for optimal airflow and vice versa.
Some people prefer installing their fan above where they plan to have their stove. In this case, you may install a window towards the back of your van to balance out the airflow.
I have a window in the front of my van, so I installed my fan in the center of the back.
2. Measure twice, cut once
After deciding where you are going to install your new fan, mark out the midpoint of where you want to install your fan as a reference. Then, begin measuring out and marking the dimensions of your fan. I used my fan flange to double-check that my measurements were correct.
Drill pilot holes at each corner of your measurements big enough to fit your saw blade inside. This will be a huge help in getting your cut started.
Optional: You might want to drill a hole in the center first to test out your equipment and how it works on your van. You want to make sure you’ve got all the right tools to do the job properly. (I found I had to switch out my drill bit for a stronger one to get a clean hole.) You can also do this with your saw to get a feel for how it’s going to cut before you do any permanent work.
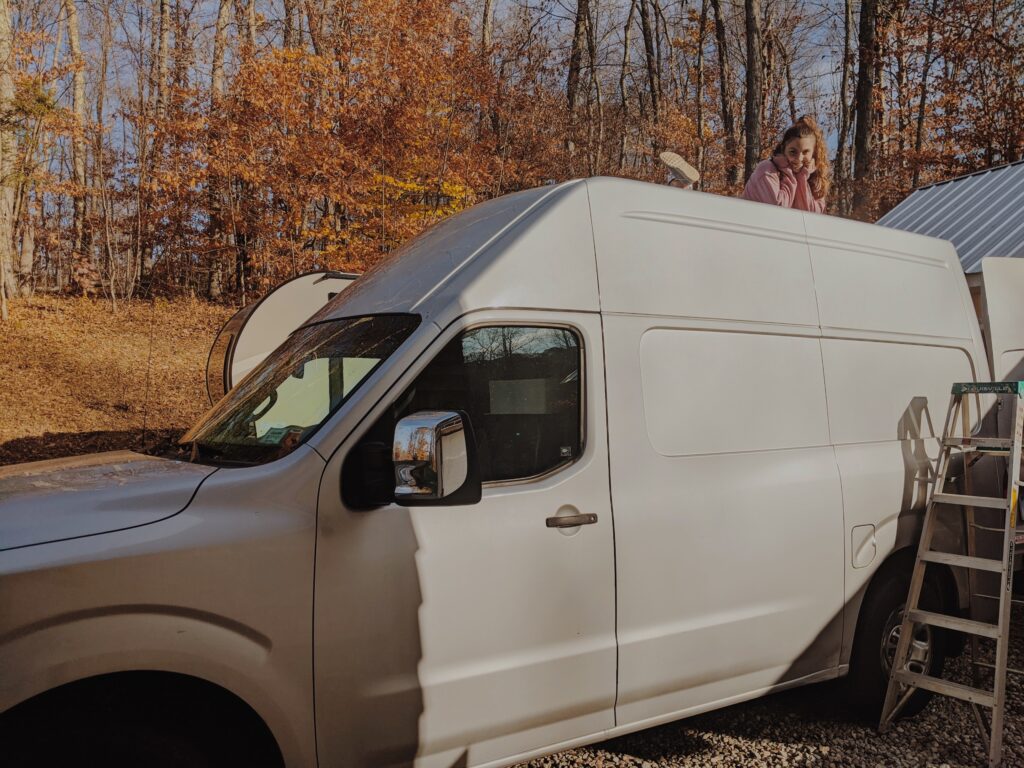
3. Decide where to cut
You can make your cut from either on top of your roof or from inside your van.
My partner and I made our cut from on top of our van so we could have better control of the saw and have gravity work with us. We also didn’t want to be drowning in metal shavings.
If you choose to do your cut from the roof, use a straight edge to draw lines to connect each of the corner holes so that you can follow these lines as you cut. This will line up with the measurements you made inside.
4. Start cutting!
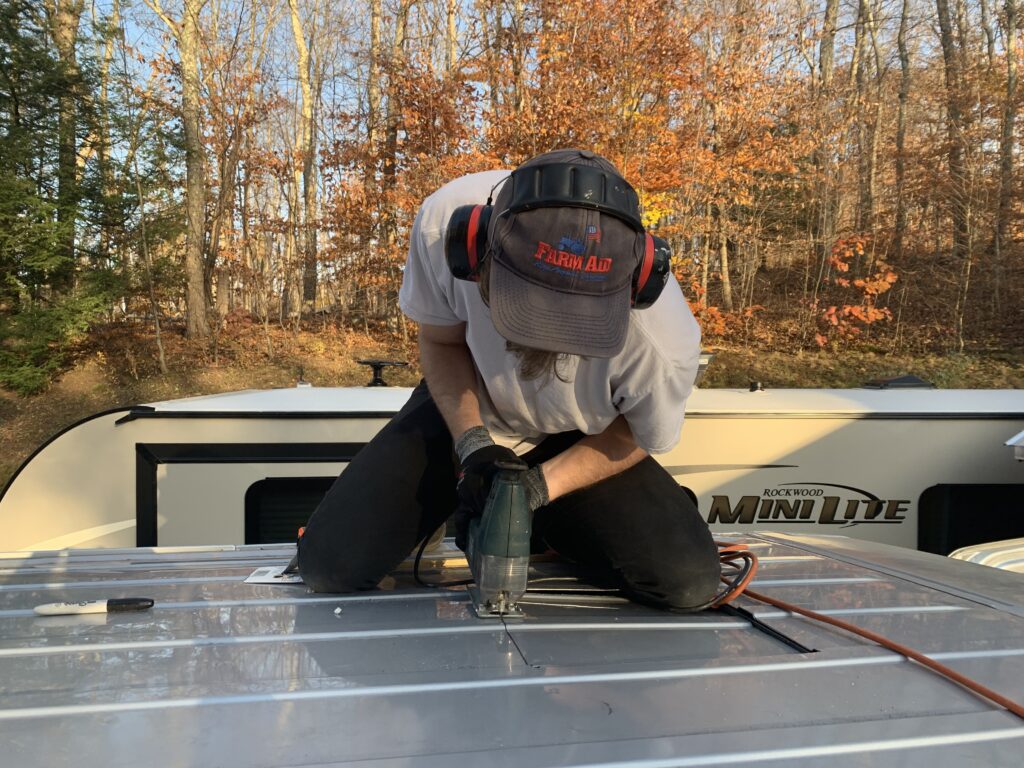
We used a jigsaw with a metal cutting blade to make our cut. We chose a jigsaw for this project since it is small and easy to control, especially around the edges of the cuts.
Place the saw in the corner that you want to start on and get cutting! The most important thing to remember here is to take your time. There’s no rush, and you want to make sure that you aren’t going off the lines. The metal might be tough to get through, so take breaks as needed.
Pro tip: Tie a trash bag underneath the hole to catch any metal shavings. If you secure it tight enough, this will also catch the metal chunk when you reach the end of your cut. You can also duct tape the chunk of metal that you’re going to be cutting to your ceiling to keep it secure. Also, put tape on any magnetic surfaces to avoid the metal shavings from catching onto them, since those will be very difficult to get off!
5. File and paint
Once you make your cut, you’ll want to file down the metal to smooth it all out. You can use a metal file for sharp edges and sandpaper for final smoothing. Then, you want to apply paint to avoid any rusting or corrosion. We didn’t care about the color of the paint since it’s on our roof, but you can also get paint that matches the color of your van.
6. Apply caulking and the van roof fan flange

After cutting a hole in your van’s exterior, it’s important to ensure that the fan is waterproof and weather-resistant.
We went with a strong, weatherproof sealant to ensure that it would be sturdy enough to endure any weather. Apply your strong sealant of choice to the edge of the metal around your entire cut.
You might opt to also use butyl tape before caulking to really seal it off.
Then, press the fan flange down onto the caulking and start screwing it in. Your fan will likely come with properly sized screws to use. We found it was easier to get some self-tapping metal screws since the metal of our van was so tough and we were screwing into support beams.
7. Place your van roof fan in place

The big moment is here! Place the van roof fan in and screw it to the flange. We used the provided screws for this part.
To ensure a waterproof seal, apply caulking over all the screws to avoid any leakage. Take your time with this and make sure you are getting full coverage. If you spend a little extra time and care on these steps, you’ll avoid having to rip your ceiling apart later to fix a leak!
8. Test for leaks
Before moving forward with any insulation or ceiling construction, we tested our fan to ensure there were no water leaks.
We had a huge rainstorm come in a few days after installing our fan, so we left the van in the rain as a test. If you want to test it out sooner, you can spray your roof with a hose or pour water on it.
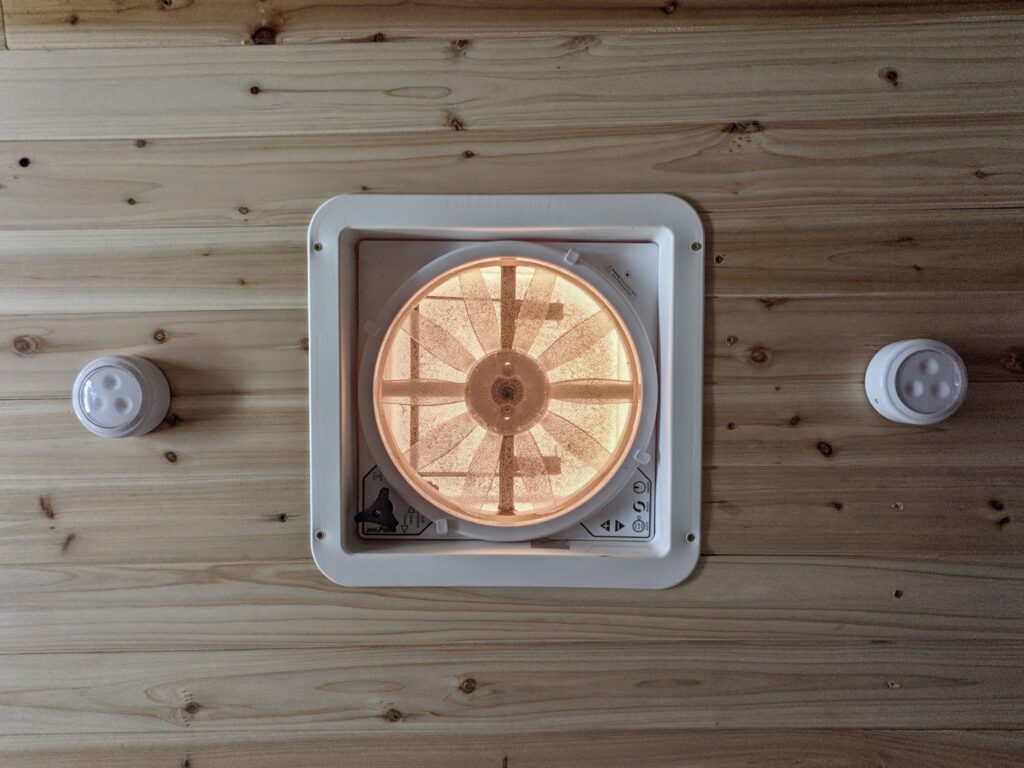
You’ve Got a Van Roof Fan!
Congratulations! You are now a van roof fan installing expert. You’ll still have to apply your trim ring, but that doesn’t come until after your ceiling is finished.
We hope you enjoy your new fan and all of the ventilation that comes with it! When you’re ready to begin powering your fan, make sure to check out the 5 Best 12v Lithium-Ion Battery Options for your van’s power system.