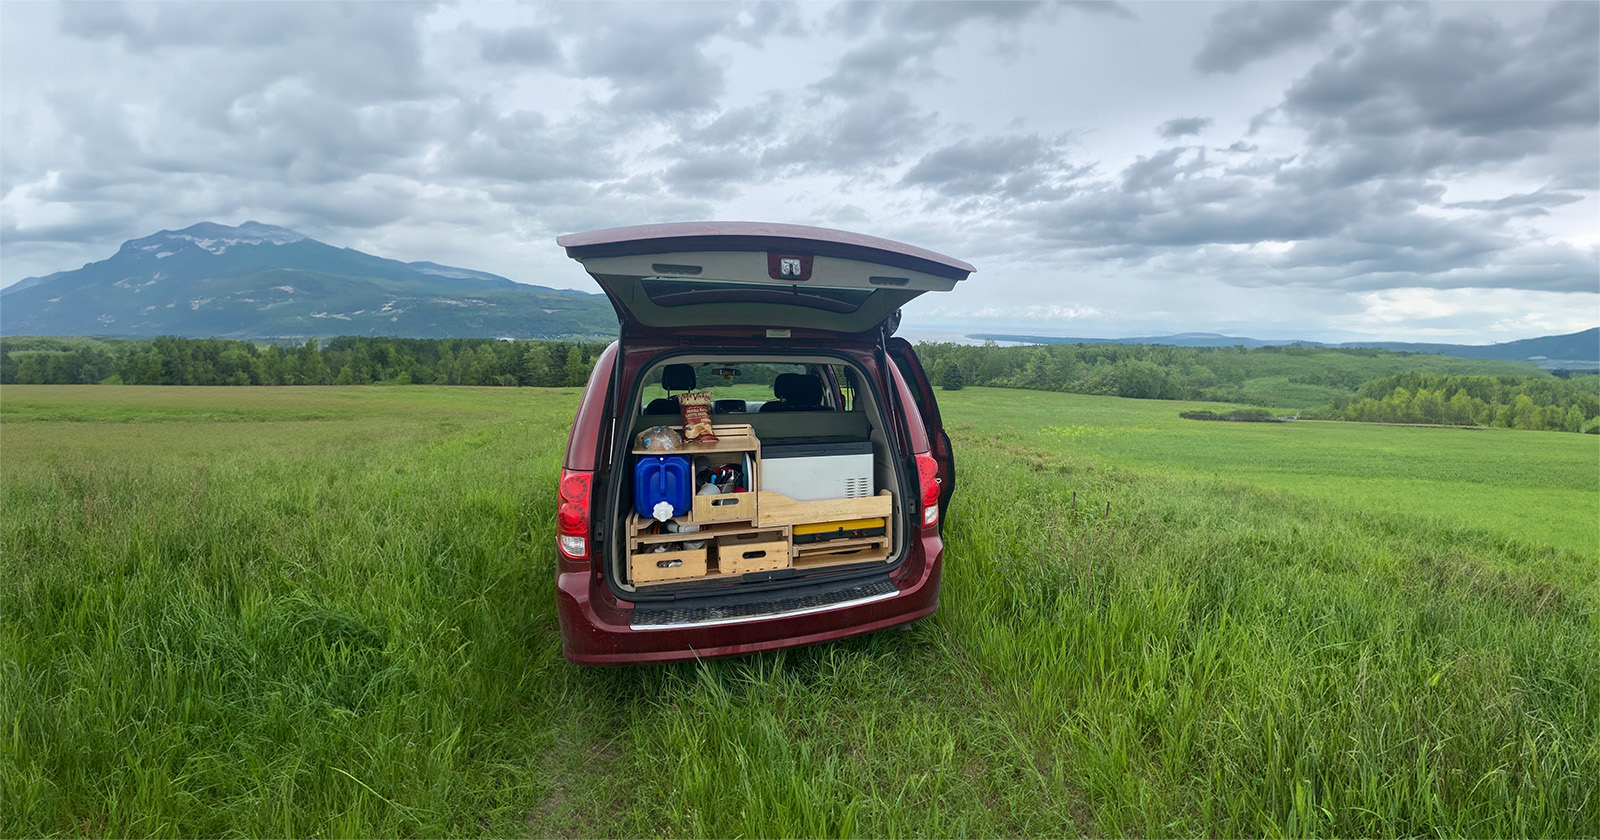
Building a Camper Van Sink Can Be as Easy or Complicated as You Want
Your camper van’s sink and water system is an essential part of your build. Without running water, your van build just won’t be complete. But how do you build a camper van sink and water system yourself?
Let’s look at what to consider before putting together a DIY sink and water system in your van. Then we’ll show you all the parts you’ll need to get that water flowing.
What to Consider When Building a DIY Sink and Water System in Your Camper Van
There are three main things to decide when planning out your DIY sink and water system:
- How much water will you need?
- Where will you install your tanks?
- What kind of pump will you use?
How Much Water Will You Need?
The first thing to consider before building your DIY sink and water system is how much water you’ll need. This will decide the size of your water tanks (both fresh and gray water).
The easiest way to find out how much water you need is to track your water usage over a few days. Average this out to find your average daily use, then consider how often you want to have to refill your water tanks. Filling and dumping your water tanks will be an added to-do item to your regular chore list.
Keep in mind that bigger tanks mean fewer refills, but also contribute more weight to your rig. If you are staying out on BLM land, you may also be limited on where you can find fresh water.
Where Will You Install Your Tanks?
The next thing to consider is whether you want to install your water tanks inside or outside of your van.
Installing your tanks inside has the advantage of being easier to install and maintain. Internal installation also protects the tanks from outside temperatures, which is an especially big advantage in the winter.
However, installing your tanks inside your van means sacrificing space for them. Plus, if a tank springs a leak inside your van, it will be much worse than leaky tanks outside.
Tanks installed outside your van are generally more expensive and harder to install. Plus they aren’t protected from the elements. But external installation gives you more space in your van, and without the space limit, you’re able to install bigger tanks.
What Kind of Water Pump Will You Use?
The final big thing to consider is if you want to use a manual or electric pump to get the water flowing.
A manual pump requires you to use your hand or foot to create pressure and move water through the system. Manual pumps are simpler to install and cheaper than electric pumps. Because they don’t require electricity, they’re ideal for anyone who spends long periods off-grid.
Electric pumps are a bit more complicated to install – and more expensive – but can be well worth it. An electric pump provides higher and more consistent pressure than a manual pump can.
Parts of a Camper Van DIY Sink and Water System
Let’s take a look at all the parts of a DIY sink and water system in a camper van, plus some recommended options for each part.
In general, your DIY sink and water system will be comprised of the following components:
- Sink
- Faucet
- Water tanks
- Water pump
- Accumulator
- Pipes, tubing, and fittings
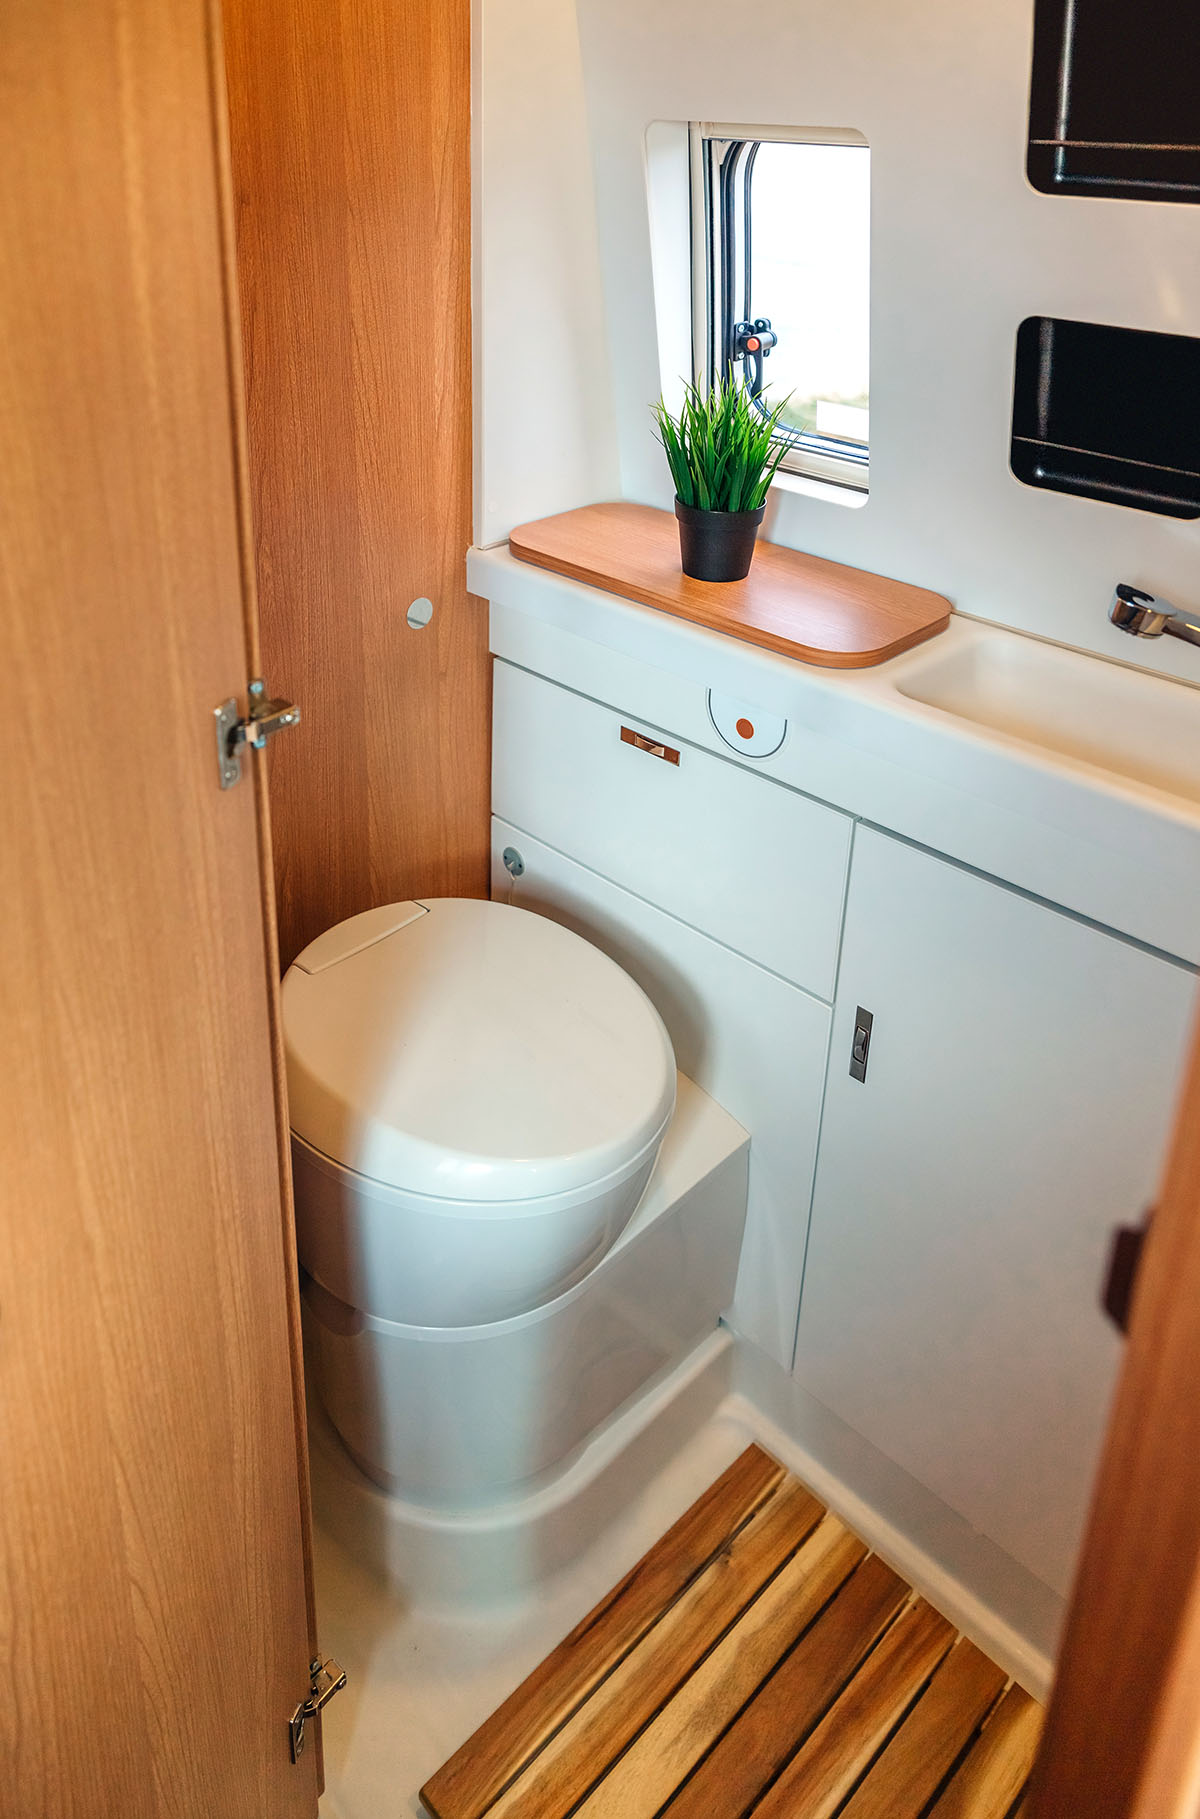
Sink
You can’t have a DIY sink and water system without a sink. Camper van sinks are typically smaller than sinks in traditional homes. They’re commonly labeled as “RV sinks” or “bar sinks”. Many come with a cover that doubles as a cutting board.
If you want to get really DIY, many van lifers use unconventional products to make stylish and functional sinks. You can use a salad bowl with a hole cut in it, a plastic bucket, or a galvanized tub for your DIY build.
Houzer 1515-6BS-1 Hospitality Series
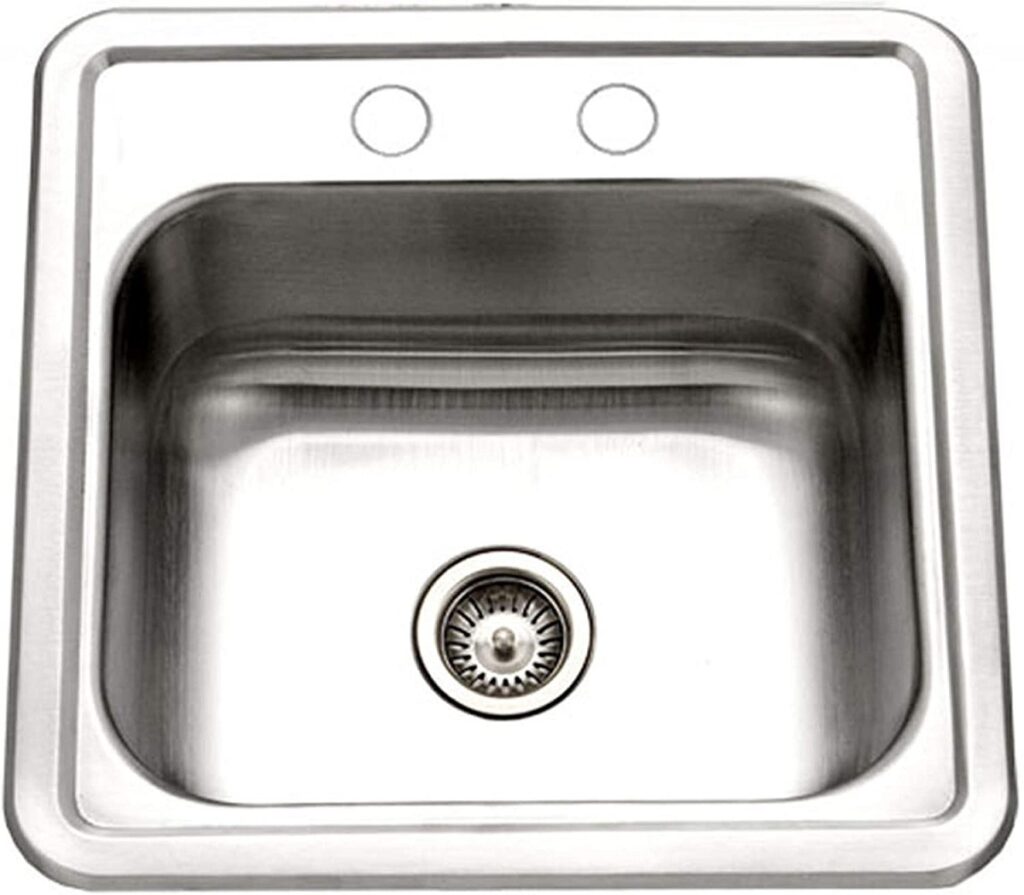
If you just need a simple, affordable sink, this sink from Houzer is a great choice. This is a simple, no-frills 15”x15” stainless steel sink that comes in at less than half the price of other options.
Ruvati RVH8215 Stainless Steel Sink
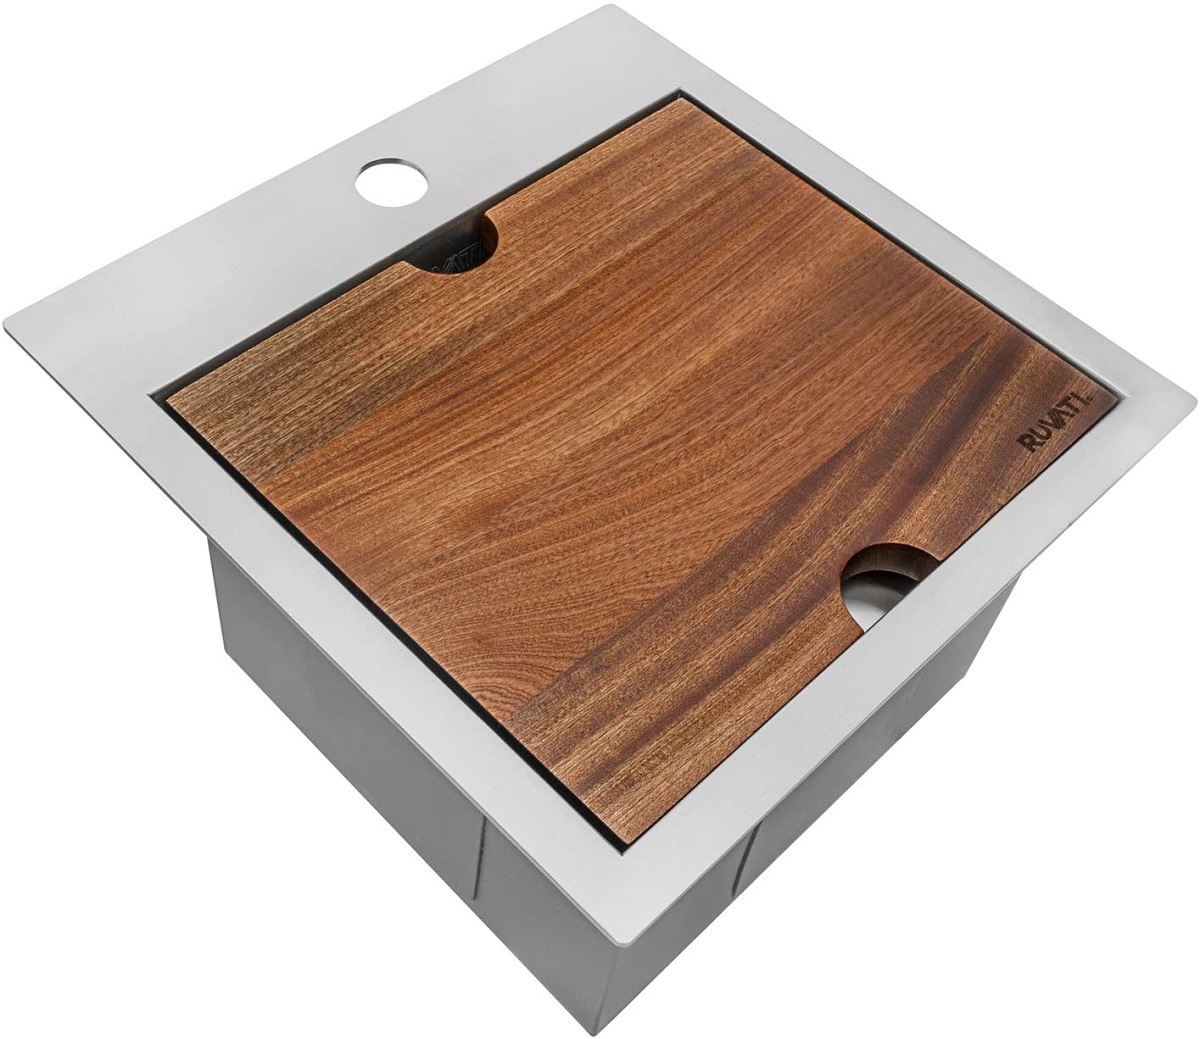
If you want a premium sink that includes a cutting board cover, this sink from Ruvati is the choice for you. It’s made out of durable 16 gauge stainless steel and includes a stainless steel bottom rinse grid, a basket strainer drain, and a stainless steel colander that fits right in the sink.
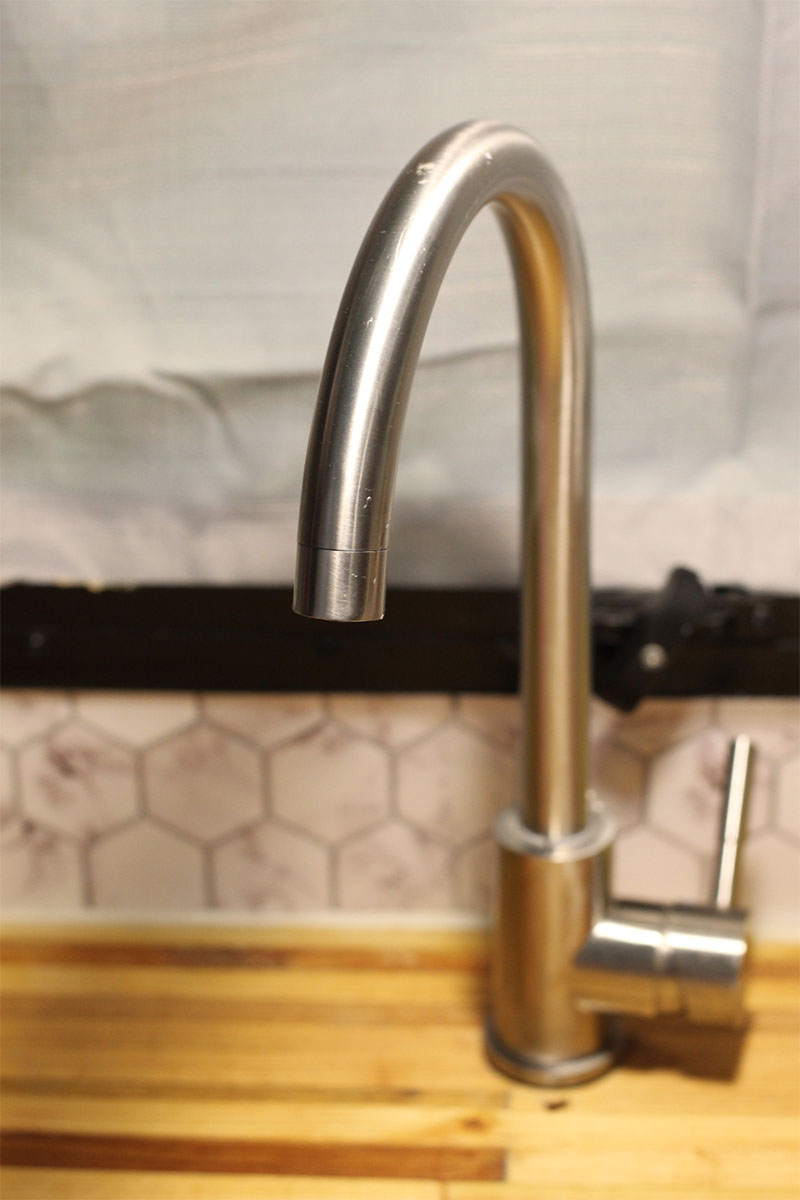
Faucet
You’ll also need a faucet for your sink. Depending on the size of your van, available space, and your van lifestyle, you might opt for a more traditional faucet, a battery-operated one, a simple drinking water faucet, or a unique, DIY invention.
Andifany Foldable Kitchen Faucet
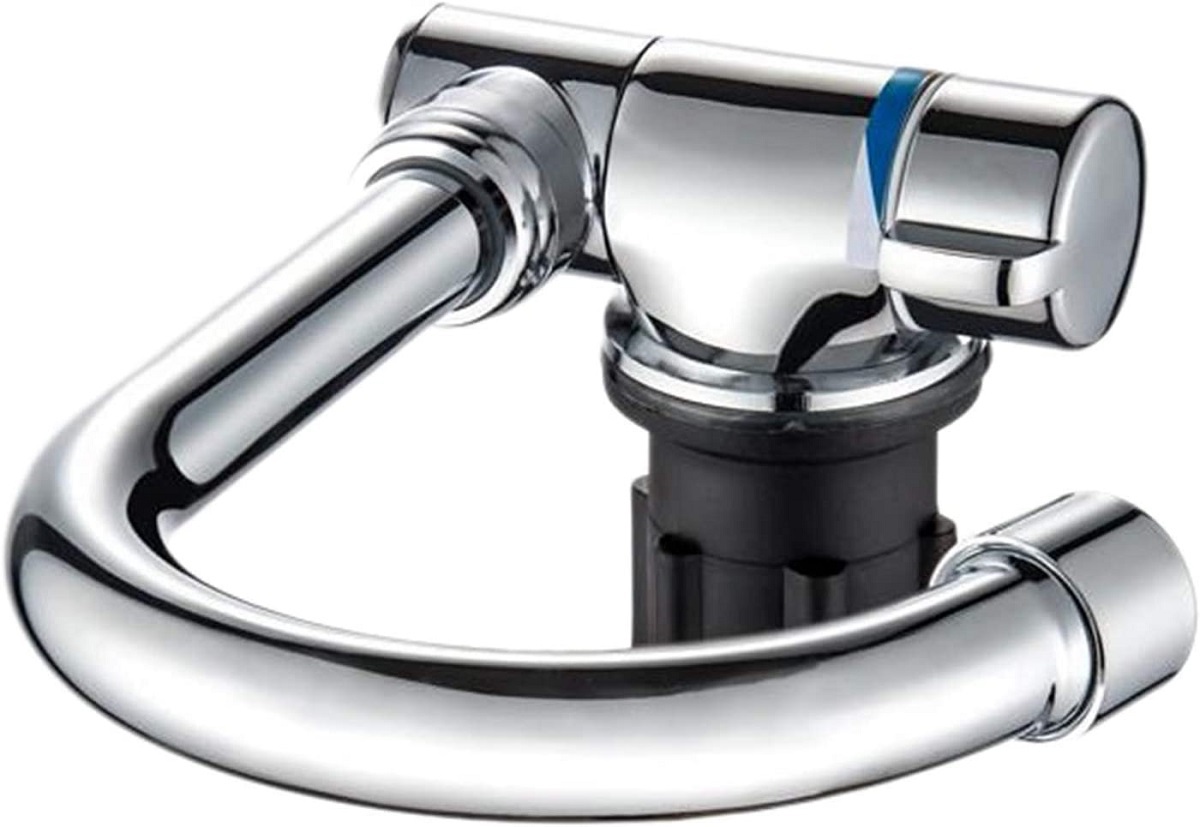
This kitchen faucet from Andifany folds down 180 degrees and rotates horizontally 360 degrees. This makes it ideal if you need every bit of extra space in your van.
Hoimpro Kitchen Faucet with Pull Down Sprayer
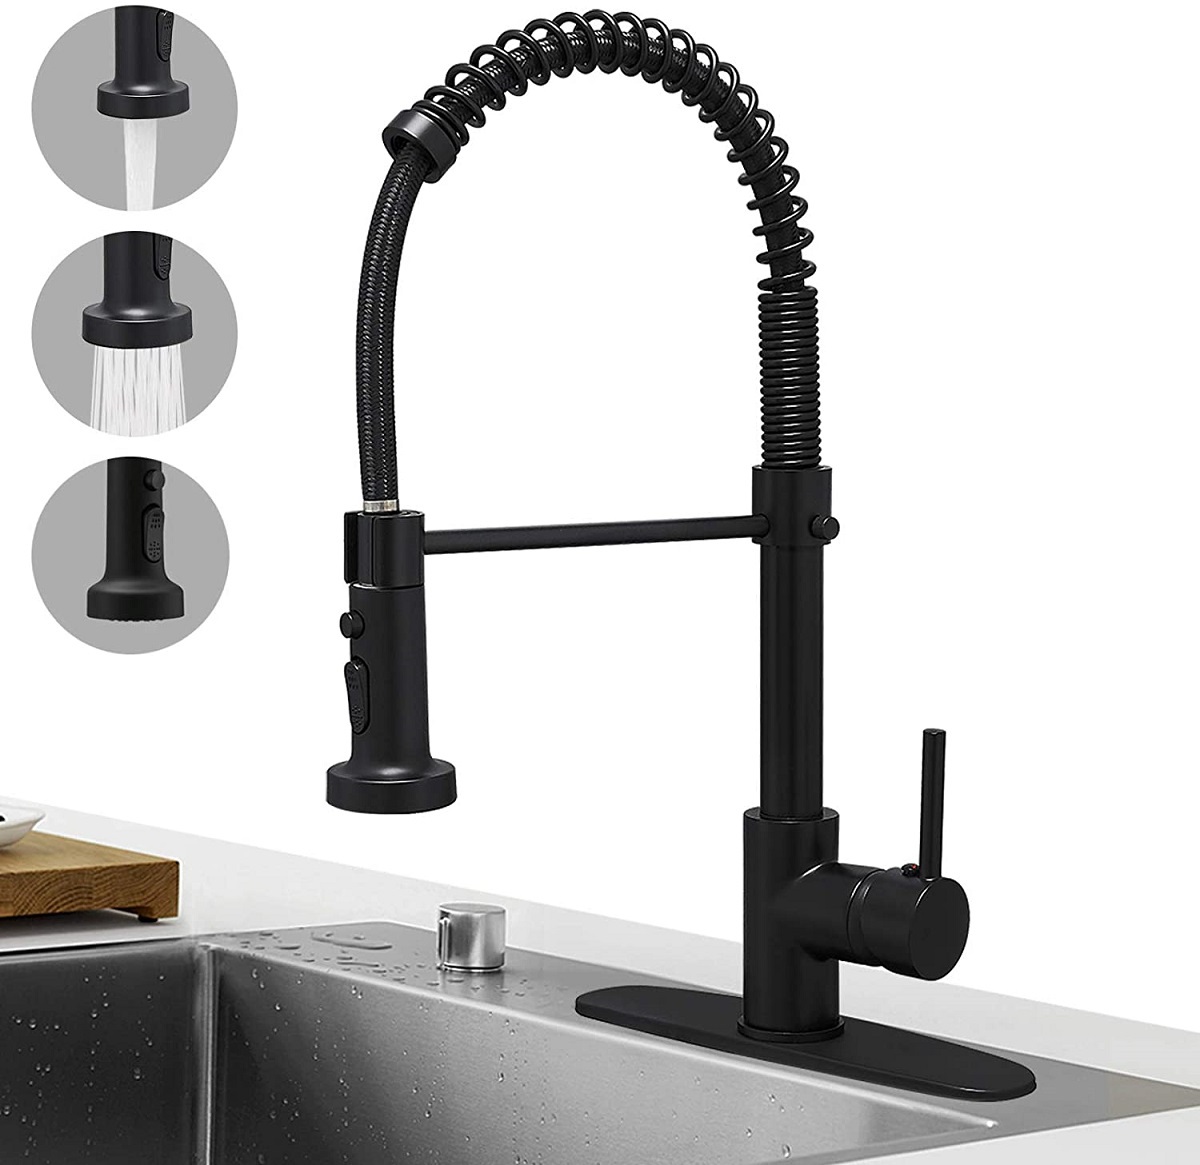
If you want a sprayer, try this faucet from Hoimpro. The sprayer can rotate 180 degrees and features three modes – spray, stream, and pause – for even more versatility.
Water Tanks
You’ll need two water tanks for your DIY water system: one for freshwater and one for greywater (that is, dirty water that’s been used for cleaning and such).
Your water tanks can be as fancy or as simple as you want. There are also solid and foldable options depending on your needs.
Scepter 5 Gallon Jerry Can
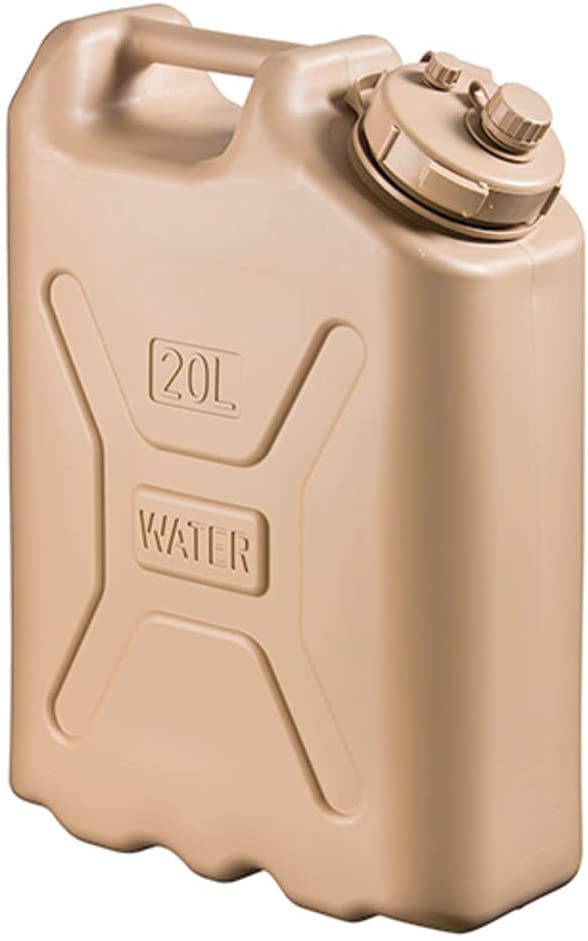
If you don’t need much water, we recommend this 5-gallon jerry can from Scepter. It’s BPA-free, durable, and has the added bonus of being portable, in case you want to remove it for any reason.
Class A Customs T-4000 40 Gallon Water Tank
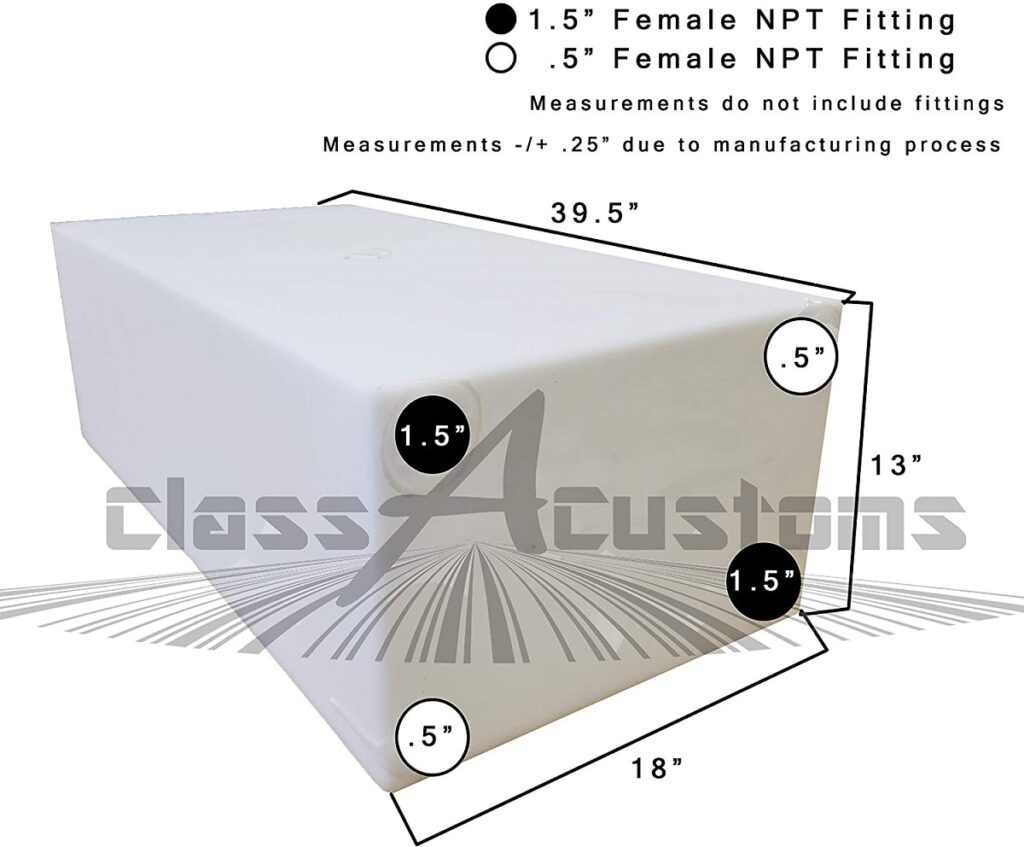
If you need a lot of water (and have the space), this 40-gallon tank from Class A Customs is an excellent choice. This tank is made in the USA and comes with built-in fittings for easier installation. If you need a different size, Class A Customs also sells a wide variety of sizes to suit your build.
Water Pump
Your pump is an essential part of your water system, as it provides the pressure that moves the water around.
If you go with an electric pump, it’s also recommended to install an on/off switch for it. This is so that the pump doesn’t damage itself if your water tanks are empty, to stop the flow if there’s a leak, and to generally save power. Any simple 12V on/off switch will do.
Valterra RP800 Rocket Hand Pump
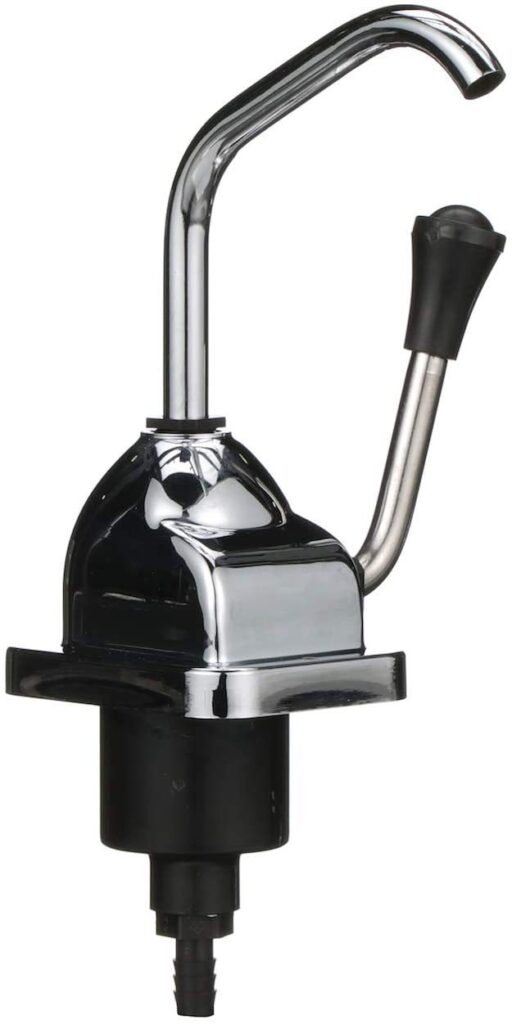
If you go with a hand pump, it’s hard to beat this combination pump and faucet from Valterra. Made with RVers in mind, this pump is easy to install and easy to use. Plus replacement parts are available for easy repairs.
SEAFLO Self-Priming Water Diaphragm Pump
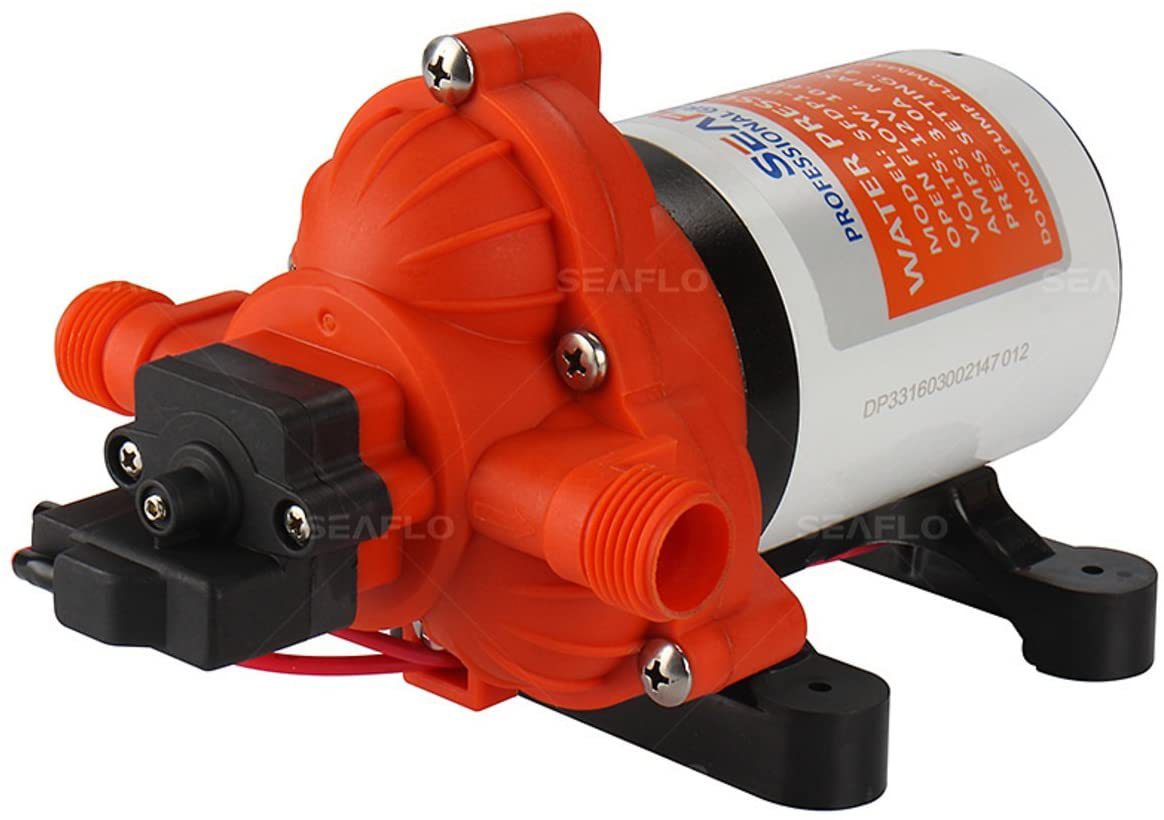
If you go with an electric pump, consider this pump from SEAFLO. It’s made for RV and marine applications, so it runs off of 12V power. The pump outputs 3.0 gallons per minute with a pressure of 45 PSI.
Accumulator
An accumulator is an optional item that’s recommended if you go with an electric pump. The accumulator keeps your water pressure more consistent, increases your pump’s lifespan, and saves power.
SEAFLO Pre-Pressurized Accumulator Tank
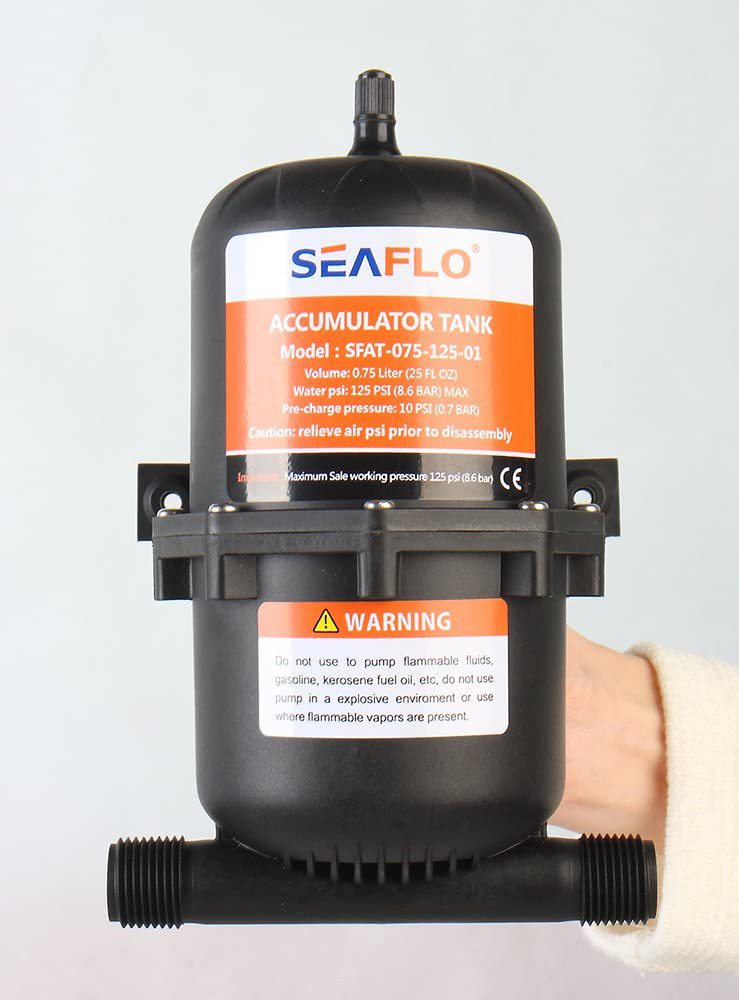
This accumulator tank from SEAFLO is a great, affordable choice. It has a .2 gallon capacity and comes with a 4-year warranty.
Pipes, Tubing, and Fittings
In order for your water to actually move between the parts of your DIY sink and water system, you’ll need to make use of pipes, tubing, and fittings.
PVC Pipes and Tubing

Standard rigid PVC pipes are a solid, cheap option, but their lack of flexibility is a definite downside for compact water systems. Thankfully, there is also flexible PVC tubing available, which has plasticizers added to the PVC to give flexibility.
PEX Tubing
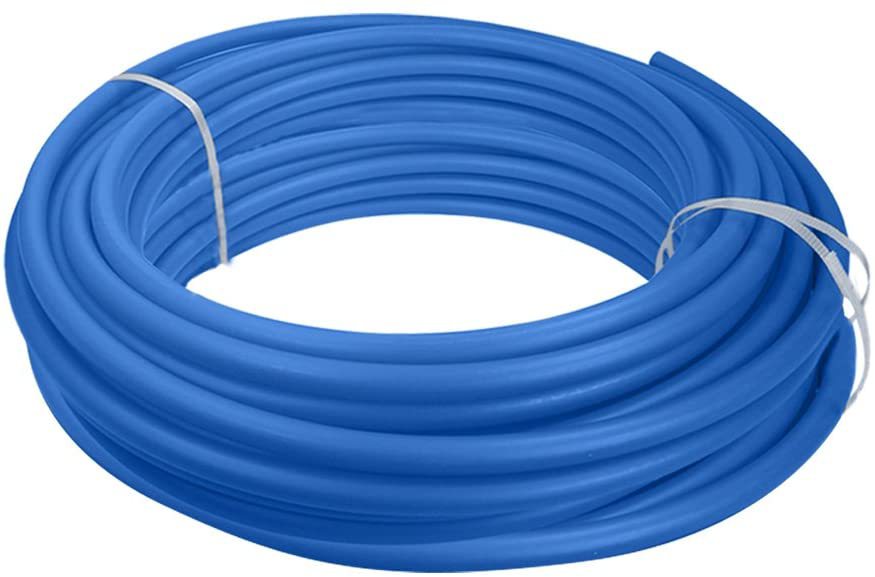
The other popular type of flexible tubing is PEX. It’s slightly more expensive than PVC but still fairly affordable. PEX has the advantage of better resistance to hot and cold than PVC. The product is able to withstand temperatures down to -40F and up to 180F (perfect for when your water lines are exposed to the elements).
Fittings
The exact fittings you use will depend on the type and size of pipe or tubing you use. Typically, you’ll use hose barbs and clamps. Depending on how DIY your build gets, you may need converters for the pump, water tank, and/or faucet connections.
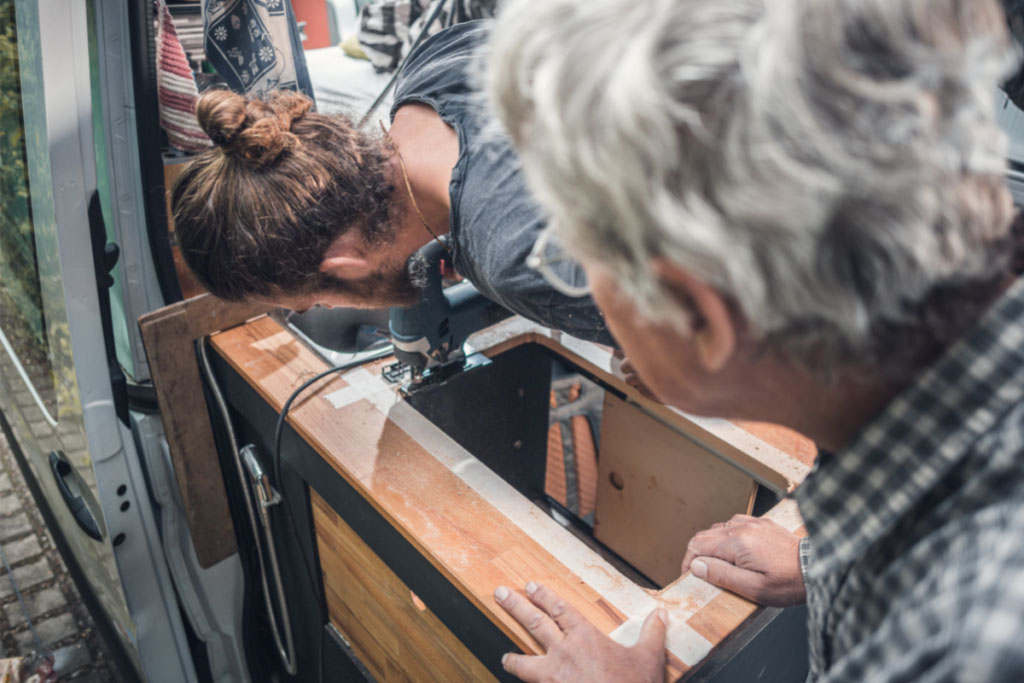
Now You’re Ready to Build Your DIY Sink and Water System
Building a DIY sink and water system for your camper van isn’t too complex once you break down the system. Luckily there are tons of plans available online to help guide your build process.
If you built your own sink and water system, what products or designs did you go with? Share it with other van lifers in the comments.