Revitalizing Your Campervan: Essential Spring Cleaning Tasks
We’re starting to see the light at the end of the tunnel (or the sun at the end of winter as the case may be). That means that a new season of travel and adventure is just about to start. Whether you live in your van all year long or only use it seasonally, now is a good time to do some spring cleaning and start the new year off on the right foot.
Everyone knows that cleaning is a constant battle. If you’re not careful, clutter can sneak up on you and the process of clearing it can be overwhelming. Keeping a schedule and staying consistent is helpful. But in addition to your day-to-day cleaning tasks, spring is a good time to take care of some overlooked aspects of van cleaning/maintenance.
Camper vans are wonderful living solutions for many people. However, they require a lot of upkeep if you want to keep them clean and functional. The process of spring cleaning can be daunting, but just tackle problems one at a time. Below, we’ve got a list of 10 tasks that you can start working on as you prepare for a new year of fun road trips and beautiful destinations. Follow along with us!
1. De-winterize Your Van (If Applicable)
You can skip this step if you use your camper van all year long, but some people choose to store their vehicles during the colder months of the year. Therefore, de-winterizing is a necessary part of spring cleaning for a lot of van lifers.
One of the biggest parts of de-winterization is draining any antifreeze you may have put into the water system. Once you’re emptied the majority of the fluid within the pipes, sanitize the plumbing system with a combination of water and bleach (1/4 cup bleach per 15 gallons of water). Let this mixture sit in your pipes overnight, then drain it and run clean water through the pipes once or twice.
You’ll also need to inspect the van for any new cracks, leaks, or holes. Water damage and pest infestations can happen while the vehicle is not in use, so keep an eye out for any warning signs like droppings, mold, foul odors, bubbling walls, or unexplained holes.
2. Perform Necessary Vehicle Maintenance
Camper vans are hardy vehicles, but they need to be properly cared for in order to continue to function. Every type of vehicle can benefit from a spring checkup. It’s especially important if you plan to travel/live in your van for the next few months.
Take care of all the regular van maintenance tasks and inspections during your spring cleaning period. This includes checking the oil, brake condition, transmission, power steering, etc.
You’ll also probably need to replace/refill a few things before you hit the road. Check your battery for signs of corrosion or old age. Make sure your tires are in good condition and are properly inflated. Top off your engine coolant, brake fluid, and window washing fluid. Finally, swap out any air or water filters that are no longer functional.
3. Clean and Treat the Roof
Your roof is the first line of defense against sun damage, ice, rain, dirt, and anything else that might try to sneak into your RV. It goes through a lot, so it’s important to properly care for this part of your vehicle.
Give the entire exterior a good wash, but pay special attention to the roof. Take note of any areas that seem weak. Fill holes or cracks with an appropriate product for your roof type. Products from RV Roof Magic, Liquid Rubber, and FlexArmor are great for all sorts of materials and will help seal and protect your van. Wax the exterior for an extra layer of protection.
4. Flush and Sanitize the Water System
We briefly brushed on this point in the de-winterization section, but it’s important to clean your water system even if you didn’t put it into storage. The ability to take fresh water on the road with you is one of the main benefits of traveling in a van, but you need to ensure that your plumbing system remains clean and safe to use.
You can flush and sanitize the pipes using the method mentioned above. But you also need to take some time to clean your holding tanks. Use the same blend of 1/4 cup bleach for every 15 gallons and water and fill your fresh water tank with this mixture. Let it sit overnight and drive the vehicle around a bit, so it reaches every nook and cranny of the tank. Then drain it and flush it with clean water.
You can do the same with the grey and black tanks (if you have them) but be sure to spray/scrub these tanks to get rid of any buildup. Adding an enzyme cleaner will help everything break down and reduce odors.
Many van lifers use composting toilets instead of black tanks, so be sure to properly empty and clean these during the spring cleaning process as well.
5. Inspect Insulation and Weather Strips
It’s hard to properly heat and cool your van if there are leaks in your insulation. Check the weather strips around your windows and doors. Patch/replace any problem areas and make sure you pay attention to any drafts that may spring up.
6. Clean Windows and Windshield
Windows bring lots of natural light into your van, but sometimes it’s easy to overlook dirty windows once you get used to them. It’s one of the most simple van life hacks, but you’ll love the way the windows look once they’re clean and clear. It really does make a big difference!
Clean the inside and outside of all your windows and windshields. You’ll also want to remove any dirt or bugs that may have accumulated on the windowsill.
7. Test Alarms
Your alarm systems can save your life, so don’t ignore them during your spring cleaning process. Test your smoke alarms, carbon monoxide detectors, and propane leak detectors to ensure that they’re all working correctly.
You may need to replace some batteries, but this is a small price to pay for your safety. Be sure to inspect your fire extinguisher as well, because these can malfunction or expire after a certain amount of time.
8. Deep Clean the Interior
Now it’s time for a good old-fashioned deep clean! Camper van cleaning is a constant battle and chances are good that you’ve let a few things slip through the cracks. Now is the time to get everything back into pristine condition, so you have a good baseline to maintain.
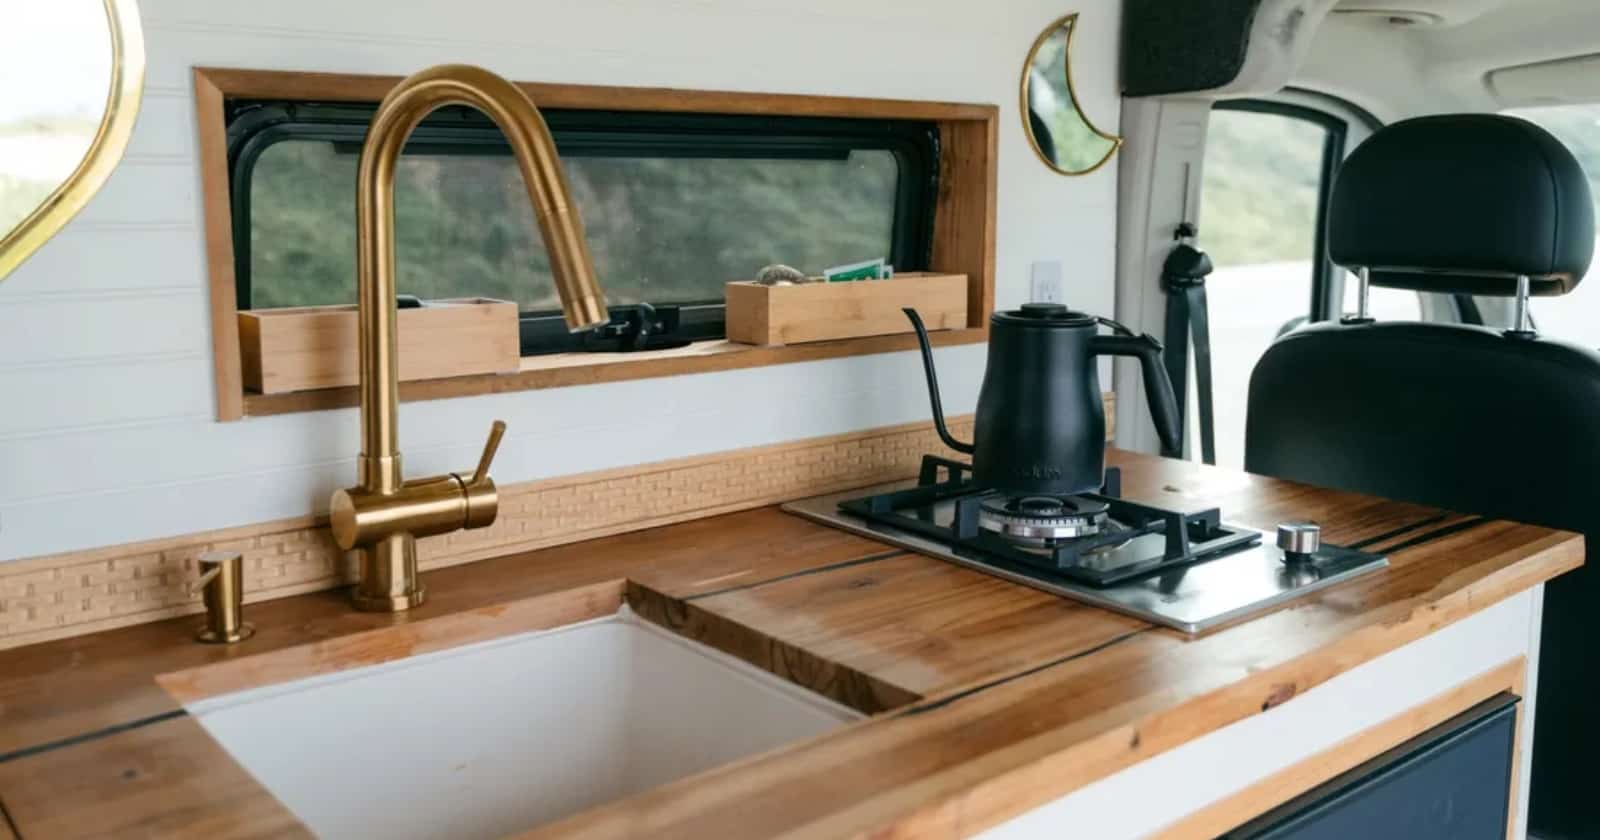
Sweep and mop all your floors, steam clean the carpets, and remove any hard water buildup on your sinks and faucets. Wipe down countertops, dust your cabinets, and poke around in every nook and cranny that might be hiding some dirt.
9. Wash Rugs, Curtains, and Other Linens
As you perform your in-depth camper van cleaning, pull out all of the fabric items that aren’t part of your regular washing rotation. Rugs are cute and functional, but they can trap a ton of debris. Beat them out and wash them so you can start the new season off properly!
Window curtains, bath mats, shower curtains, furniture covers, and other linens could also benefit from a thorough wash. Look out for any signs of mold or pests and wash these items on the highest temperature possible (as long as it’s okay for the fabric).
10. Clear, Sort, Rotate, and Restock Pantry
Finally, don’t forget to check your food storage as you work through your van maintenance checklist. Chances are good that there are some items that you’ve barely touched since you bought them. It’s important to sort, rotate, and restock your pantry, so it has the items you actually need.
Completely empty your food storage and lay it all out so you can make an inventory. Check expiration dates and rotate items, so you use up the older stuff first. This is also a good opportunity to clean out your cabinets and get rid of any spills or stains that may have accumulated. You need to get to the food before the pests do!
We hope that these spring cleaning tips will help you as you prepare for a new year of adventures in your camper van. You’ll have a much better experience if you leave with a vehicle that’s clean and well-maintained.
Related Articles:
- How Do You Stay Clean In A Van?
- Camper Van Must-Haves For New Van Lifers
- 3 Steps To Clean Up An Old Camper Van